

This is Week 10. Mechanical design and mechine design. As usual, there are several assignments, machines and components that i'm going to use. So, to have a better understanding of what i'm going to do i'll give some information about the things i'm going to need to build the machine and complete everything. So, lets start and see what comes along this week, of course hoping for the best and trying to enjoy as much as I can! Let me share with all of you what are my new assignments:
This week assignmets are:
Group assignments:
What do I need for this week?
| Machines/Equipment | Components | Materials |
|---|---|---|
|
|
|

3D printer
3D printers use CAD to create 3D objects from a variety of materials, like molten plastic or powders. 3D printers can come in a variety of shapes and sizes ranging from equipment that can fit on a desk to large construction models used in the making of 3D-printed houses. There are three main types of 3D printers and each uses a slightly different method.
Data from: 3D printer
Is a process of making three dimensional objects from a digital file. The creation of a 3D printed object is achieved using additive processes. In an additive process an object is created by laying down successive layers of material until the object is created. Is a process in which a digital model is turned into a tangible, solid, three-dimensional object, usually by laying down many successive, thin layers of a material. 3D printing is the opposite of subtractive manufacturing which is cutting out / hollowing out a block of material with for instance a milling machine.
Data from: 3D printing
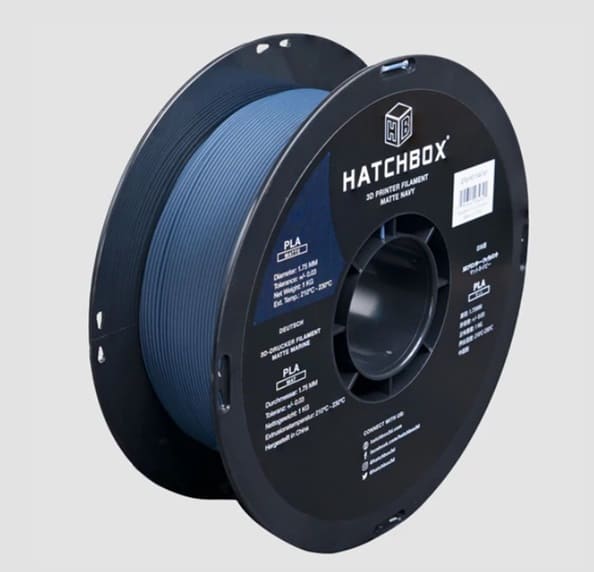
PLA filament
Polylactic acid, PLA, is a thermoplastic monomer derived from renewable, organic sources such as corn starch or sugar cane. Using biomass resources makes PLA production different from most plastics, which are produced using fossil fuels through the distillation and polymerization of petroleum. Is a type of polyester made from fermented plant starch from corn, cassava, maize, sugarcane or sugar beet pulp. The sugar in these renewable materials are fermented and turned into lactic acid, when is then made into polylactic acid. The material properties makes it suitable for the manufacture of plastic film, bottles and biodegradable medical devices, like screws, pins, plates and rods. These are some properties:
| Property | Value |
|---|---|
| Heat Deflection Temperature (HDT) | 126 °F (52 °C) |
| Density | 1.24 g/cm³ |
| Tensile Strength | 50 MPa |
| Flexural Strength | 80 MPa |
| Impact Strength (Unnotched) IZOD (J/m) | 96.1 |
| Shrink Rate | 0.37-0.41% (0.0037-0.0041 in/in) |
Data from:PLA filament

Is an open source hardware used to control stepper motors. Allows you to control 4 motors simultaneously. It uses removable A4988 stepper controls. Stepper motors are connected via 4-pin connectors. Its supply voltage is 12-36 V. These motors are compatible with a wide range of 3D printers. They have the right torque to handle the motion requirements of a 3D printer. The main feature that makes them so special is the ability to precisely control the degree of rotation.
Data from: CNC shield
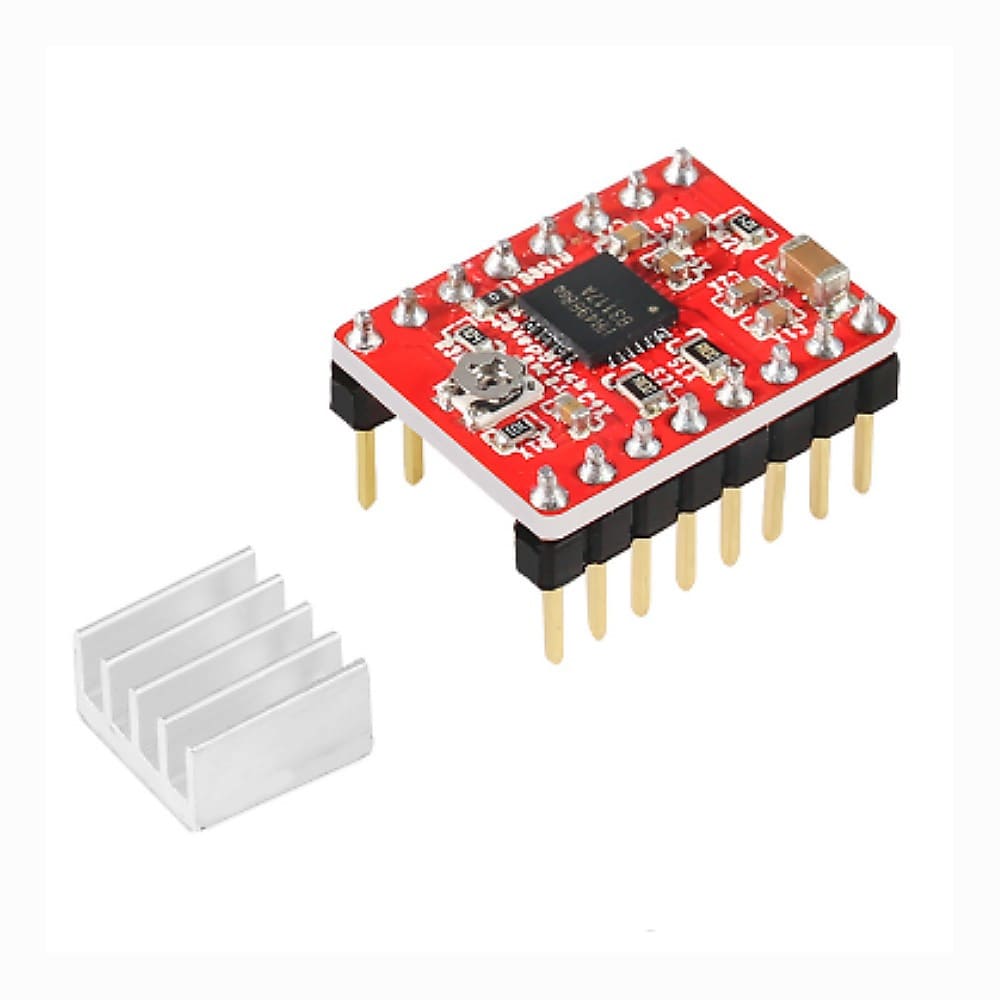
Is a breakout board for Allegro’s A4988 microstepping bipolar stepper motor driver. The driver features adjustable current limiting, overcurrent and overtemperature protection, and five different microstep resolutions (down to 1/16-step). It operates from 8 – 35 V and can deliver up to approximately 1 A per phase without a heat sink or forced air flow (it is rated for 2 A per coil with sufficient additional cooling).
Data from: Stepper Motor Driver – A4988
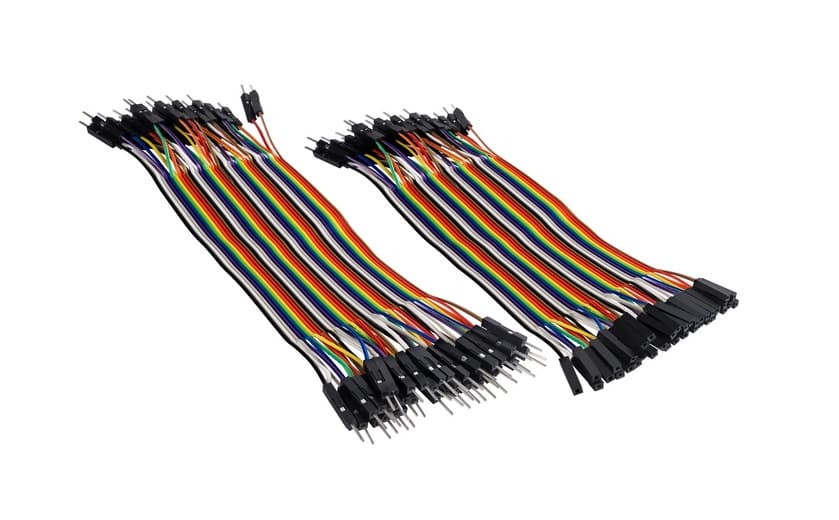
Also called Jumper Wire cables. Are electrical wires, or group of them in a cable, with a connector or pins at each end. They are used to connect hardware such as sensors, Arduino boards, and breadboards together.
Data from: Dupont wire
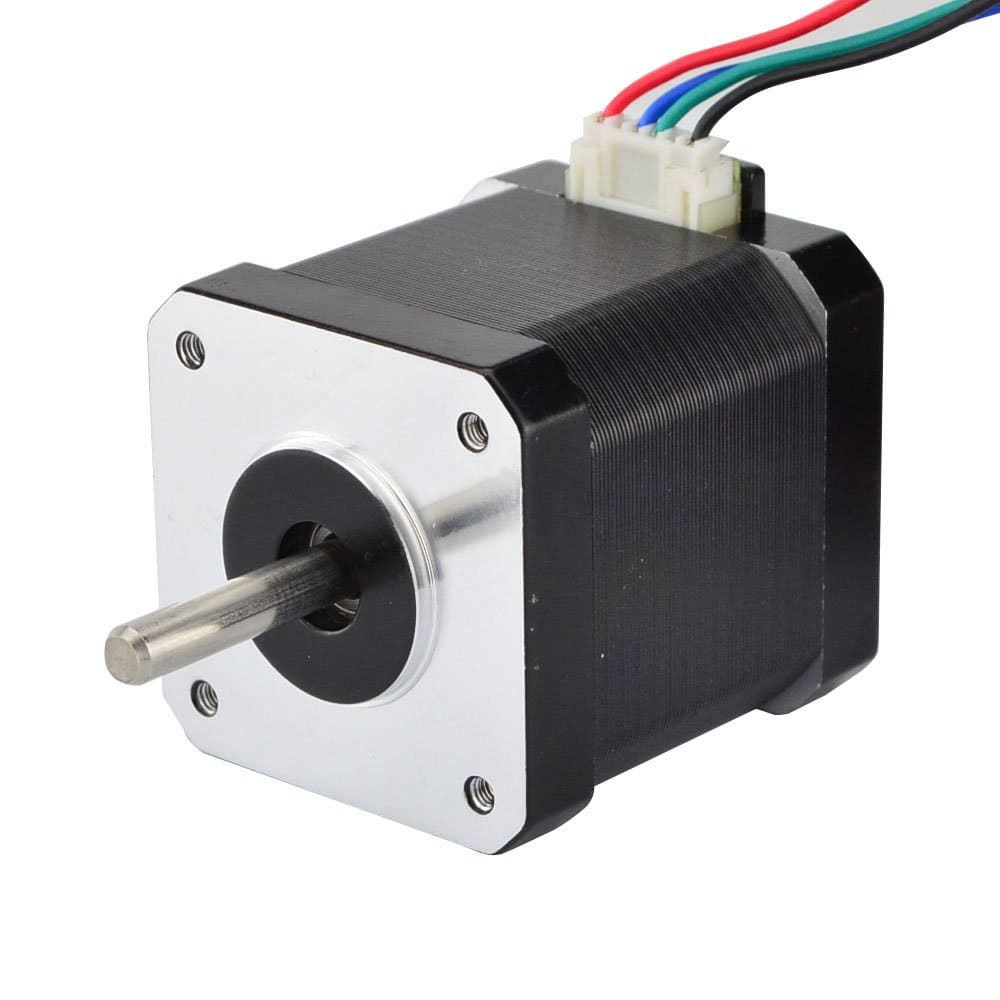
Is a stepper motor with a 1.7 x 1.7 inch (42 x 42mm) faceplate. Nema 17 high torque stepper motors provide great value with no quality sacrifice. The version with a step angle of 0.9° is more precise than the typical 1.8° version of the motor. These motors are engineered to provide the highest possible torque but minimize vibration and audible noise.
Data from: Nema 17 stepper motor

Is a self-contained electrical device that moves parts of a machine with high efficiency and great precision. In simpler terms, is a BLDC motor with a sensor for positional feedback. This allows the output shaft to be moved to a particular angle, position, and velocity that a regular motor cannot do.
Data from: Servomotor
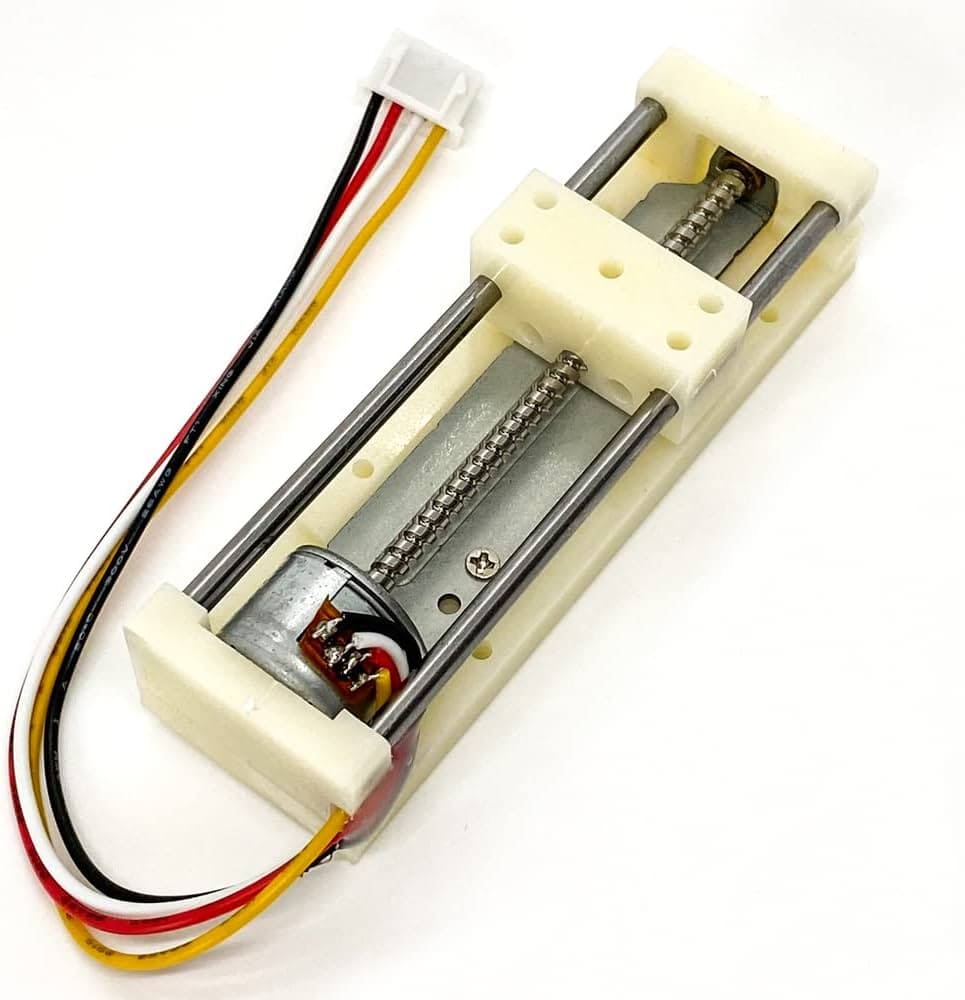
This rail and linear block are small and light, especially suitable for small teams. Technical data: Voltage: 5V-12V / 100-300mA; Step Angle: 18 degrees; Stage Total Size: 3.2"x0.98"x0.78". This stepping motor direct power is not rotating, it need to stepper motor driver board.
Data from: Sliding Rail with 2 Phase
This was a hard part because I wasn't sure about the machine I want it to build. So I took some time and research a little bit on the internet about possible machine I could design. And of course lots of options were available but I had to think through because I had to consider the materials, equipment and components that I need it to build the machine. So finally, after a time of research I decided to design a tape label maker. I took this idea from a youtube video but I'm making some changes, below you can see the actual video:
So, as I mentioned in the first part of the web page i'm trying to do build a lable maker. For this part i'm sharing the parts I had to design to build the machine. In the next section i'll show how to build the machine and how does it work. As usual, i'm hoping for the best. All the file parts can be downloaded from the file section at the end of this web page.
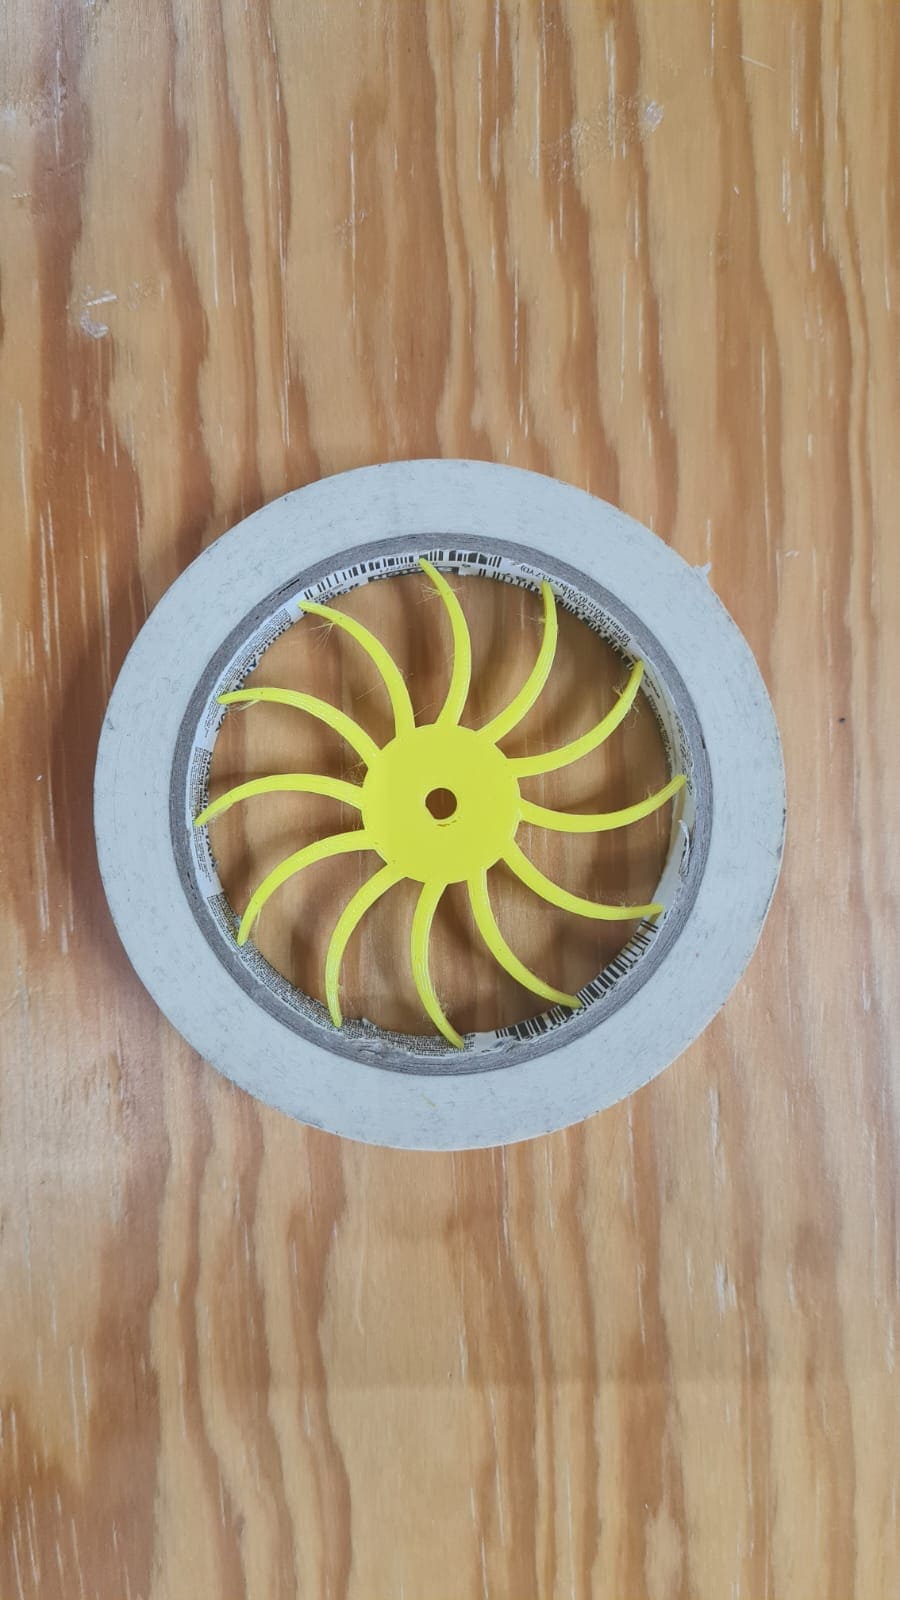
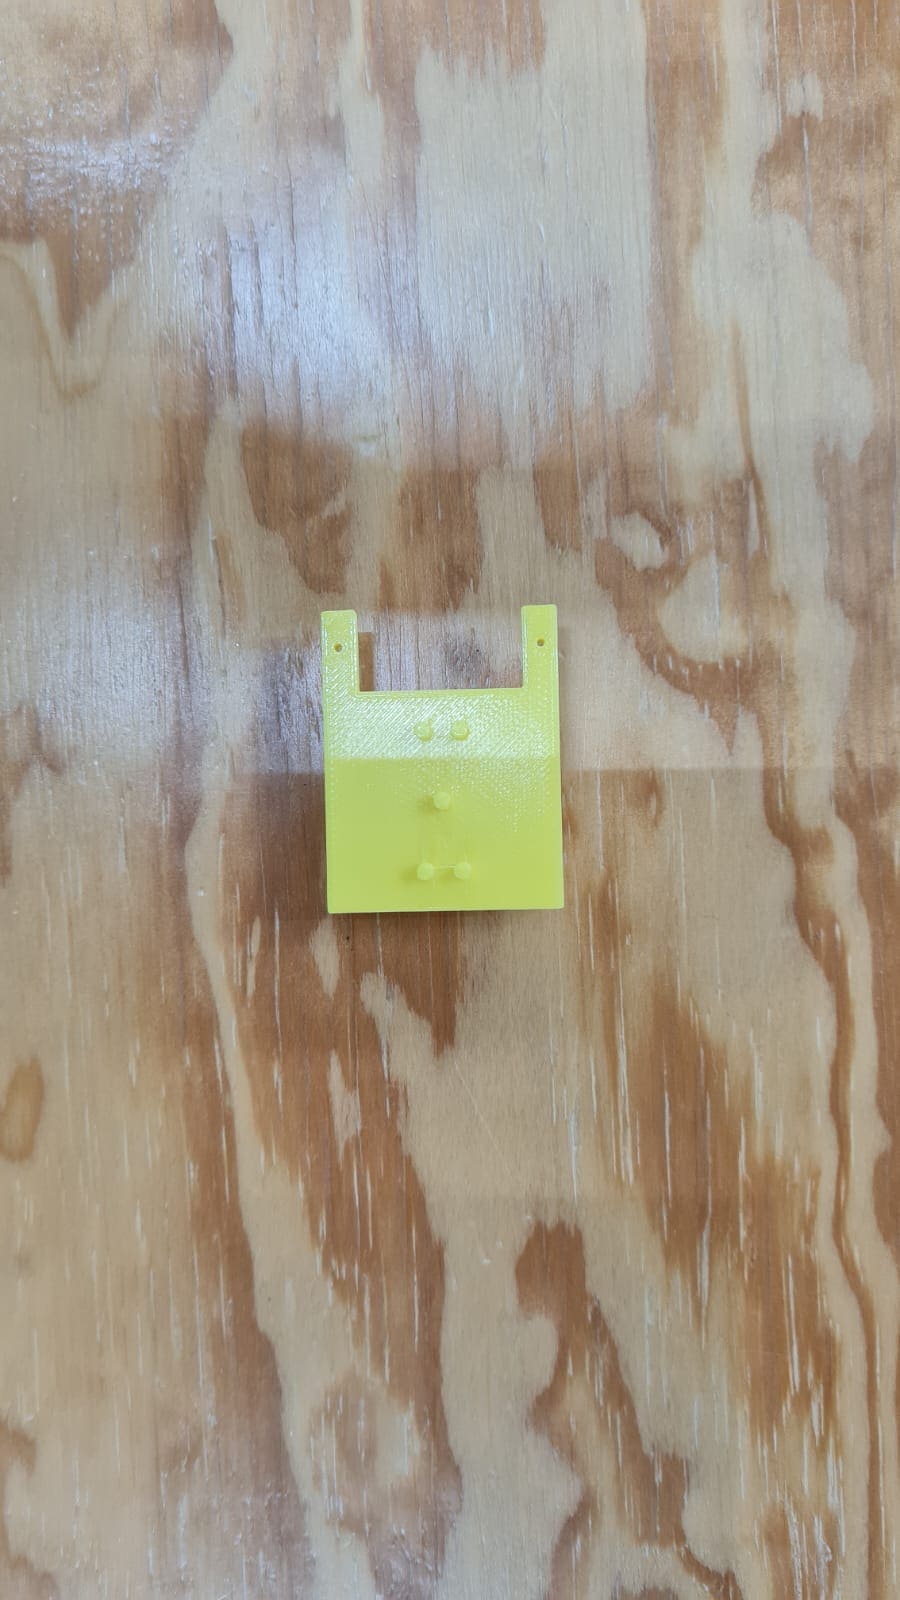
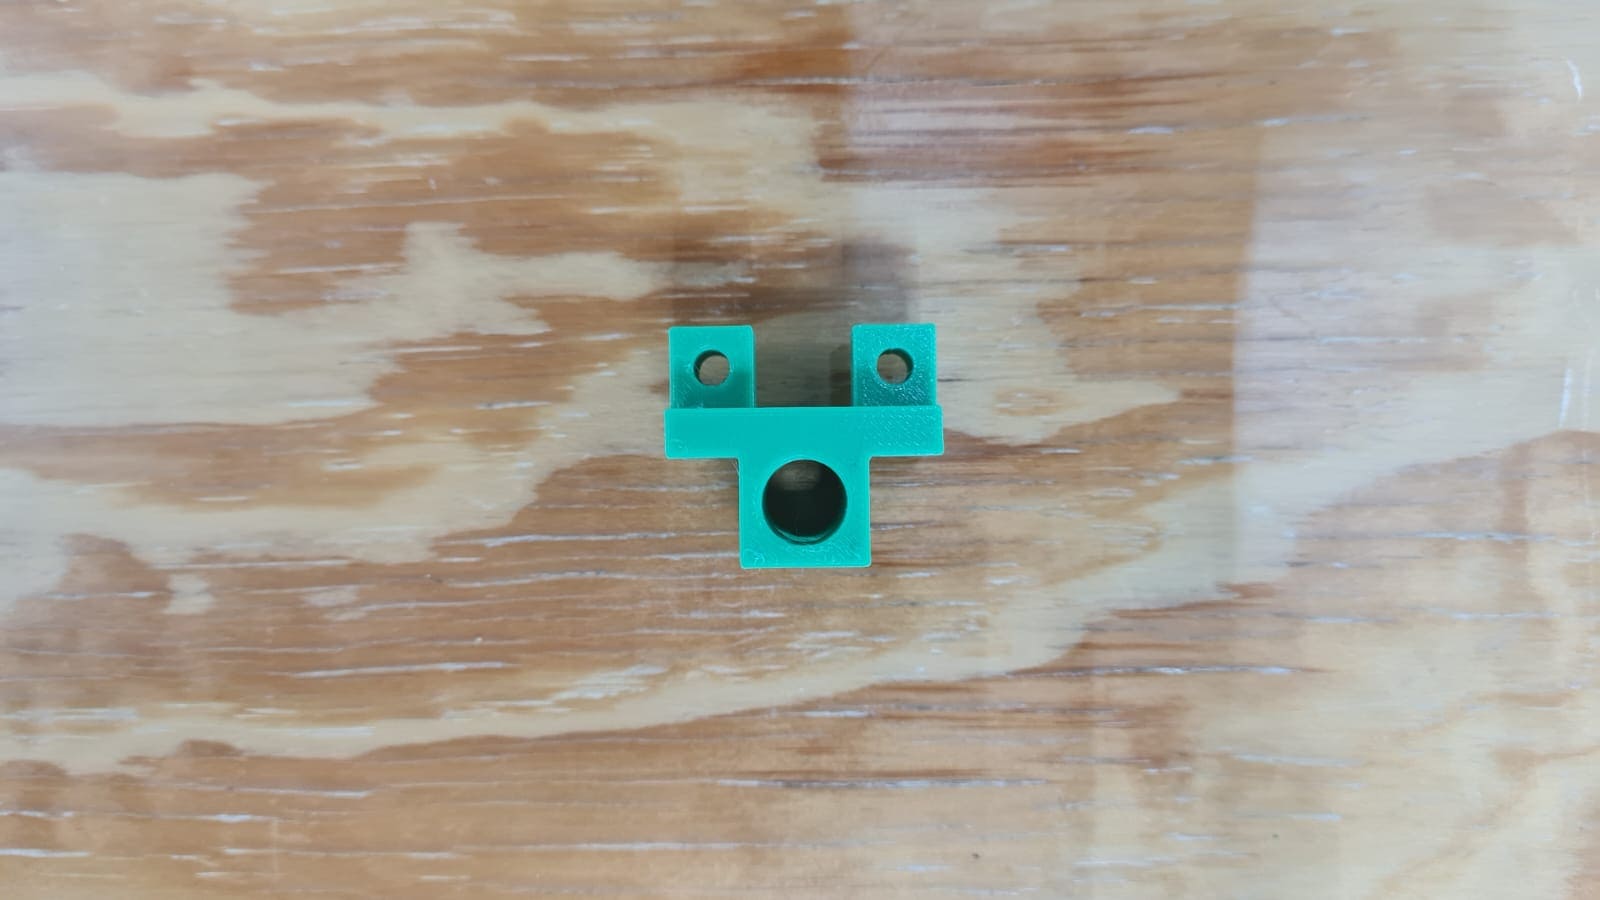
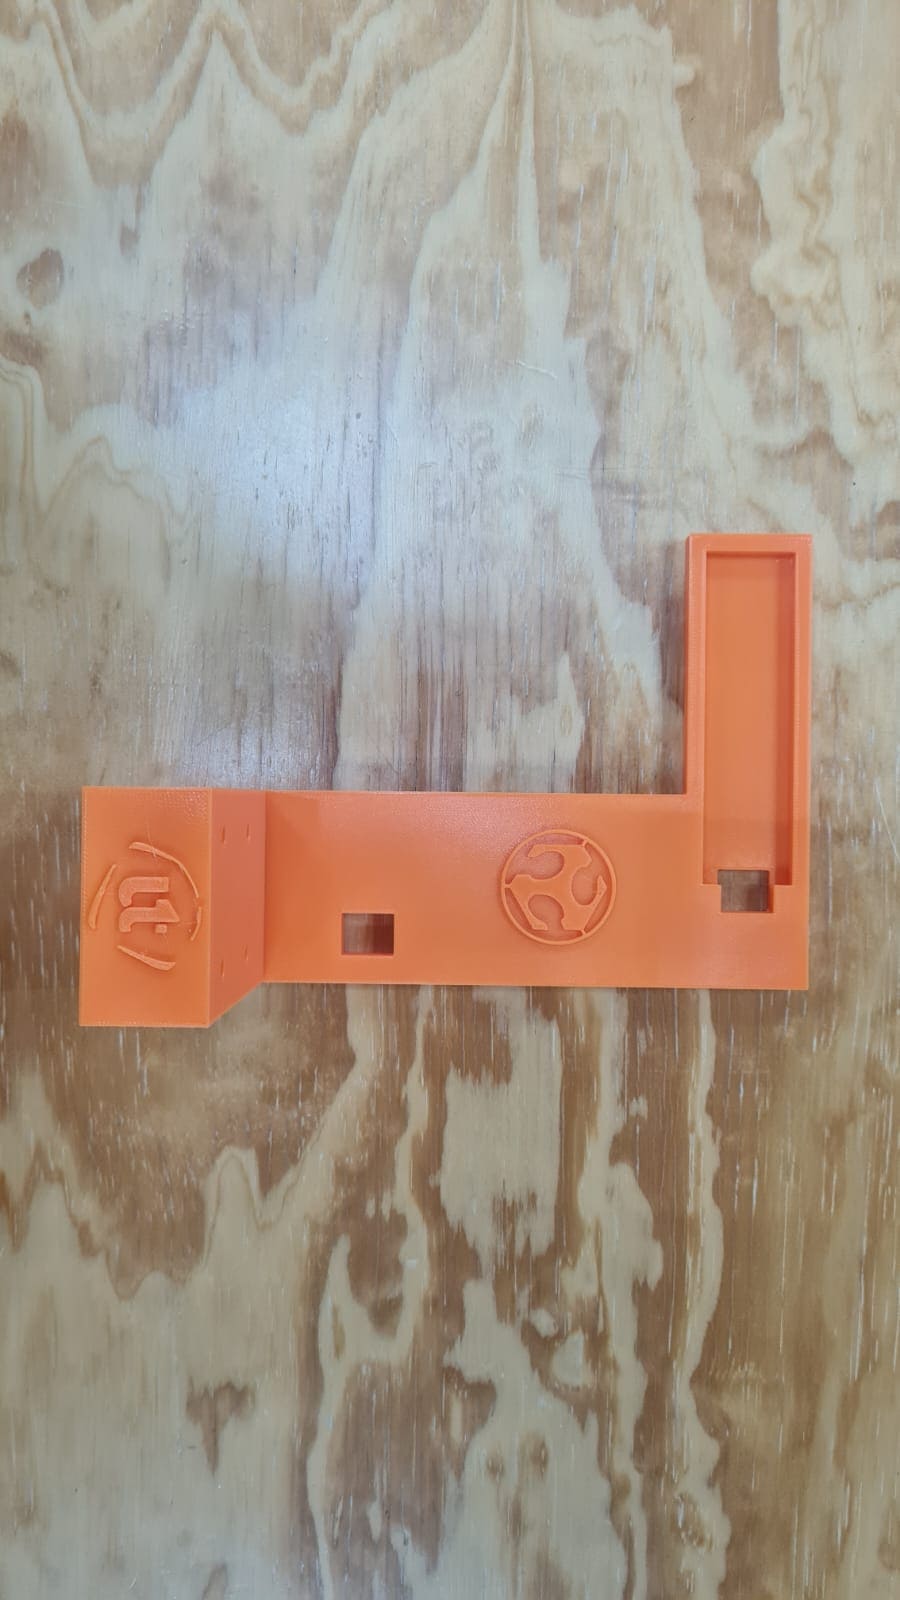
In this part i'll show what did I do to make the machine to work. In this I had to research about nema 17 motor, adrivers, cnc shield and Universal G-code sender. This is something totally new for me, never done work like this so i'm a little bit nervous about it but as always hoping for the best. This is what I did:
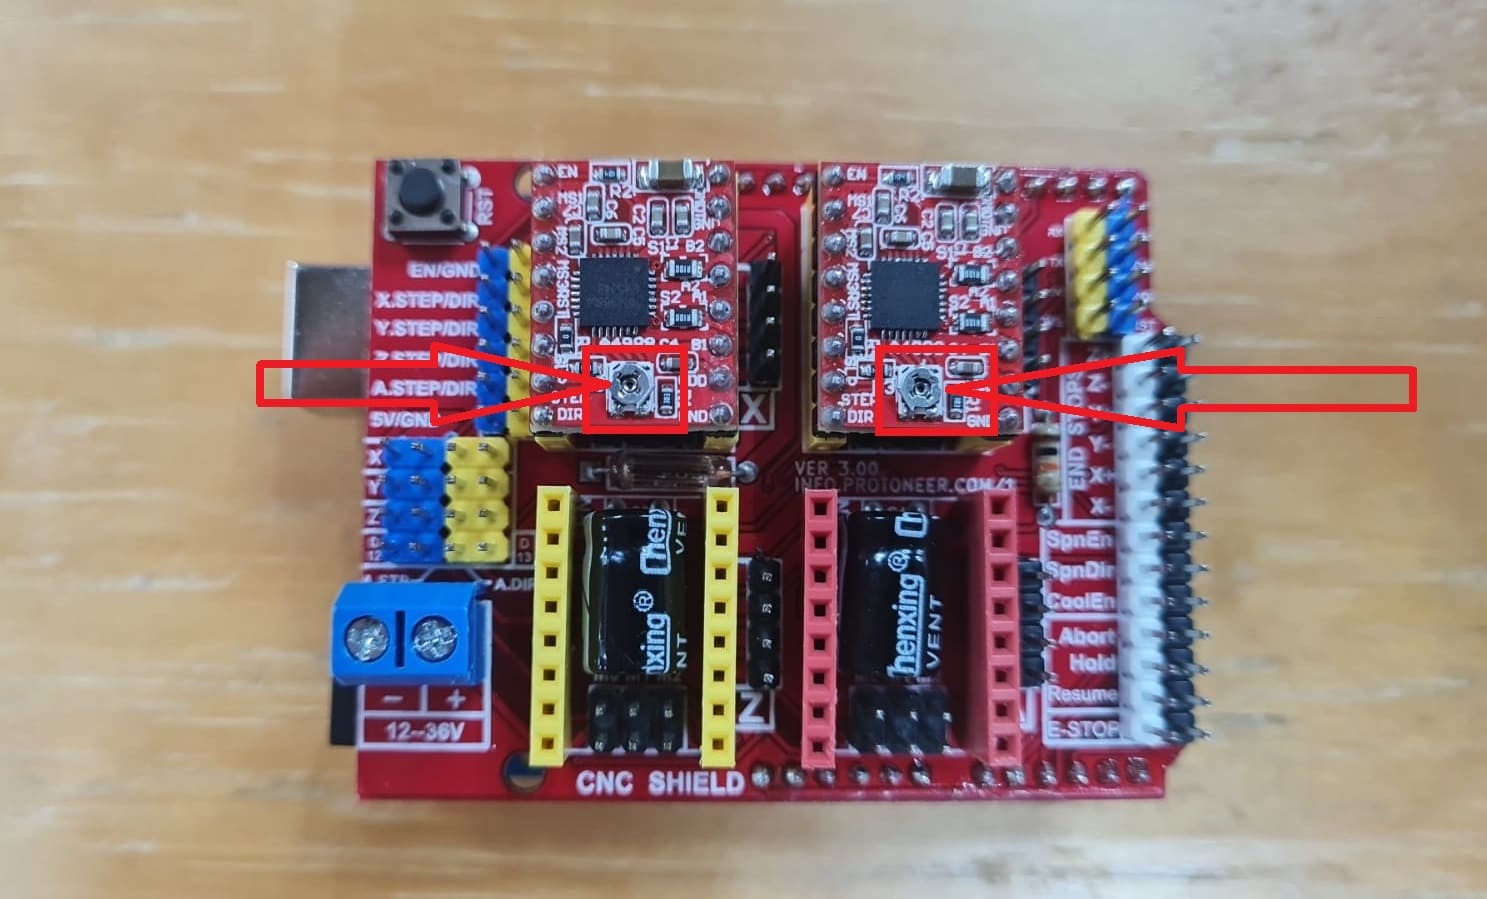
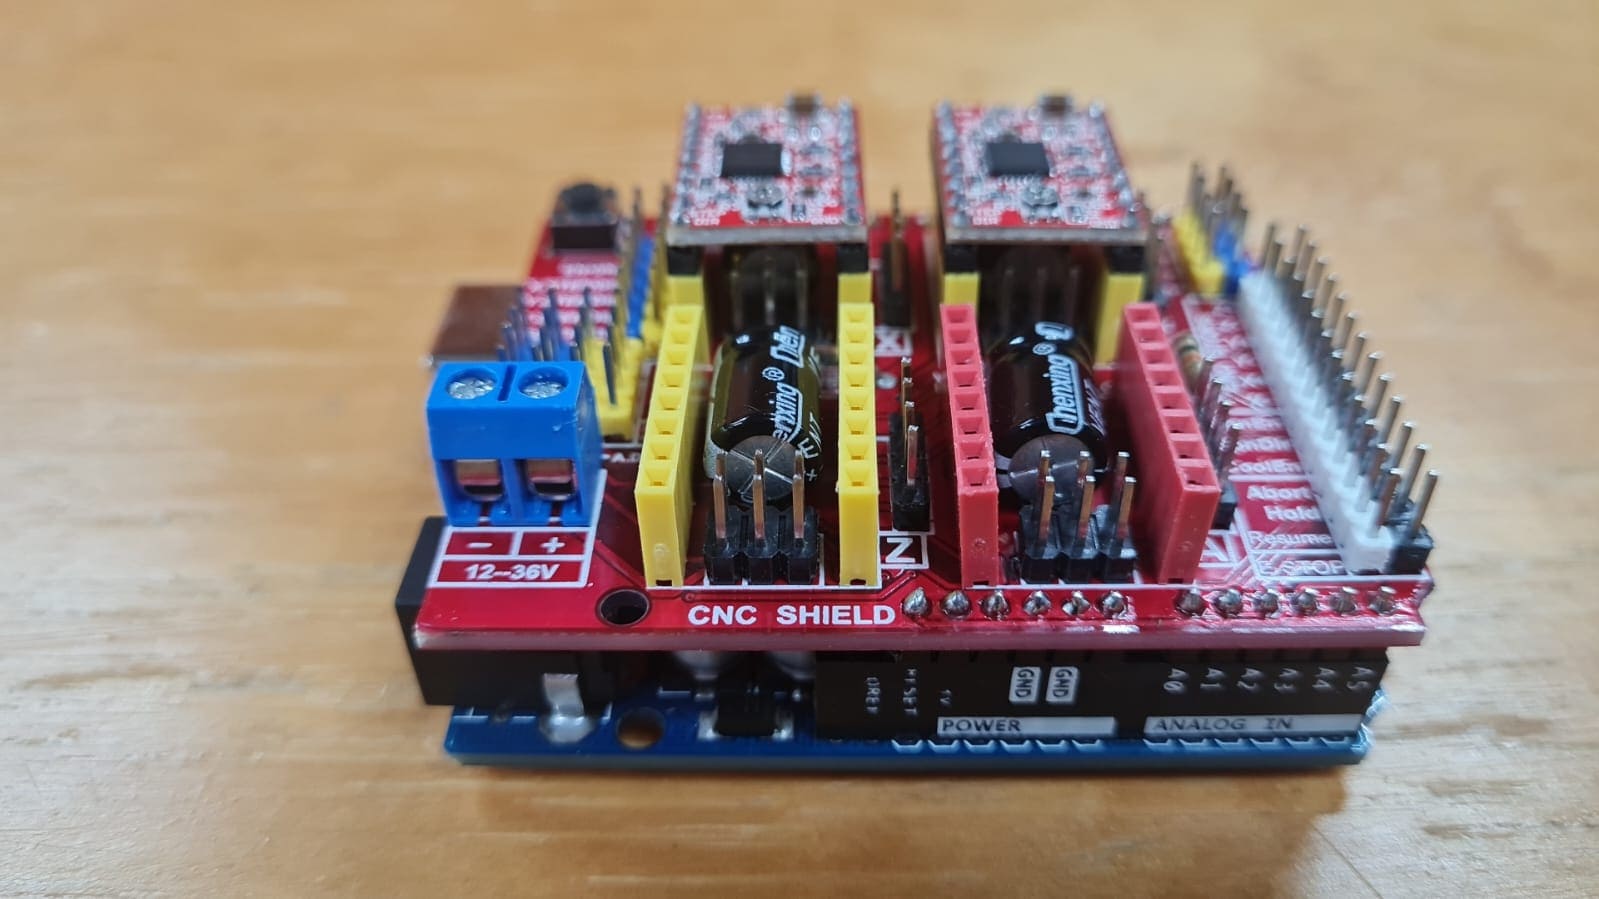
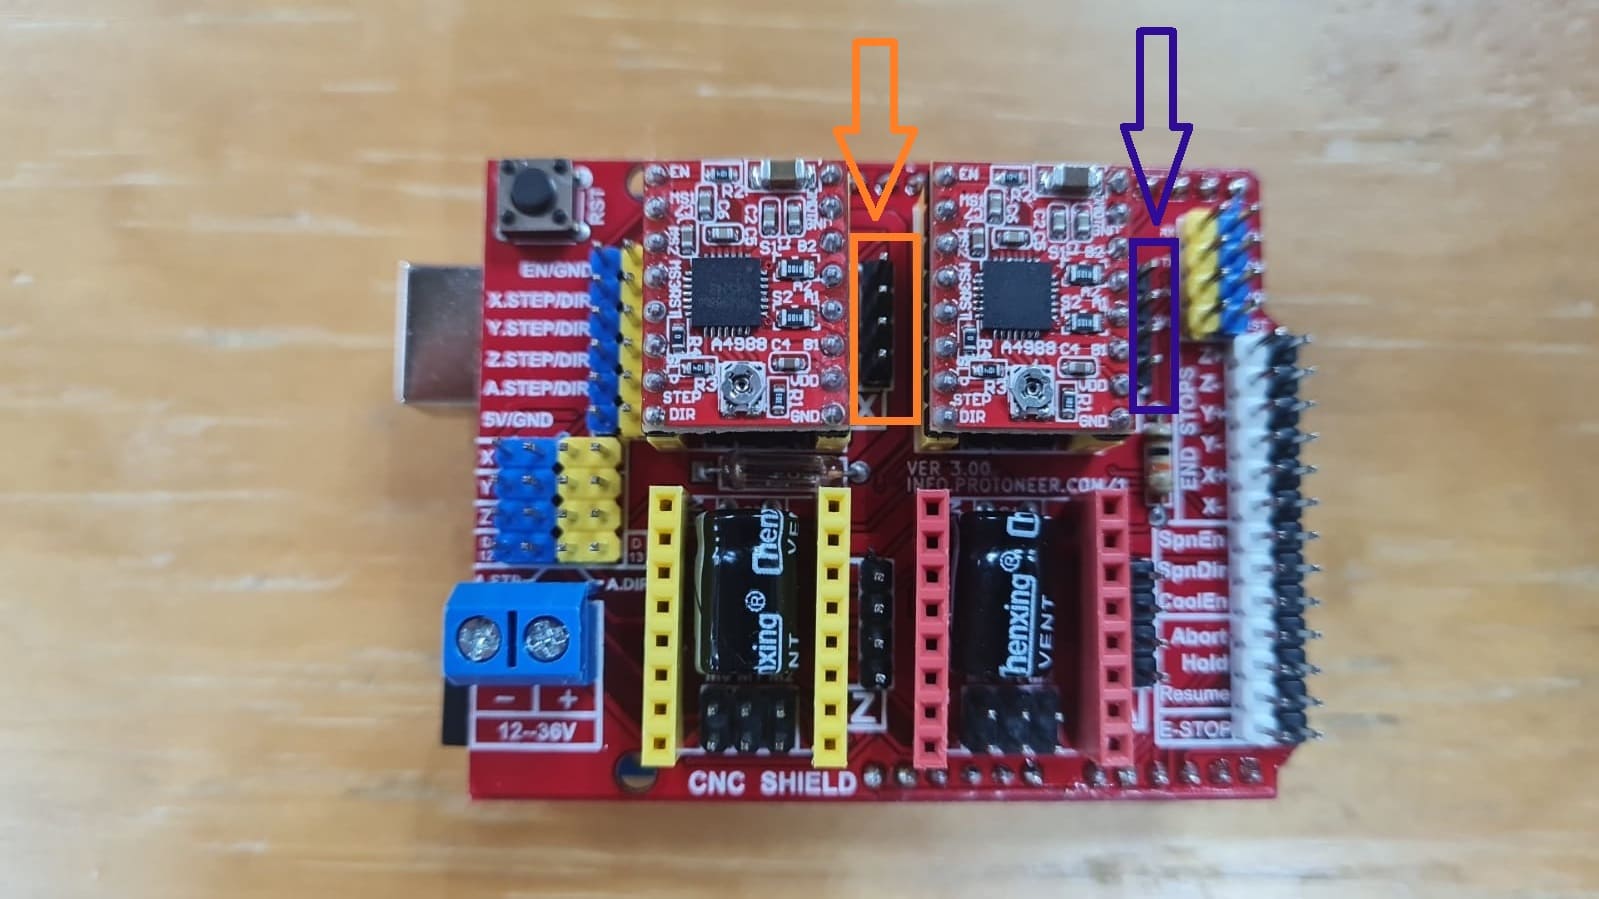
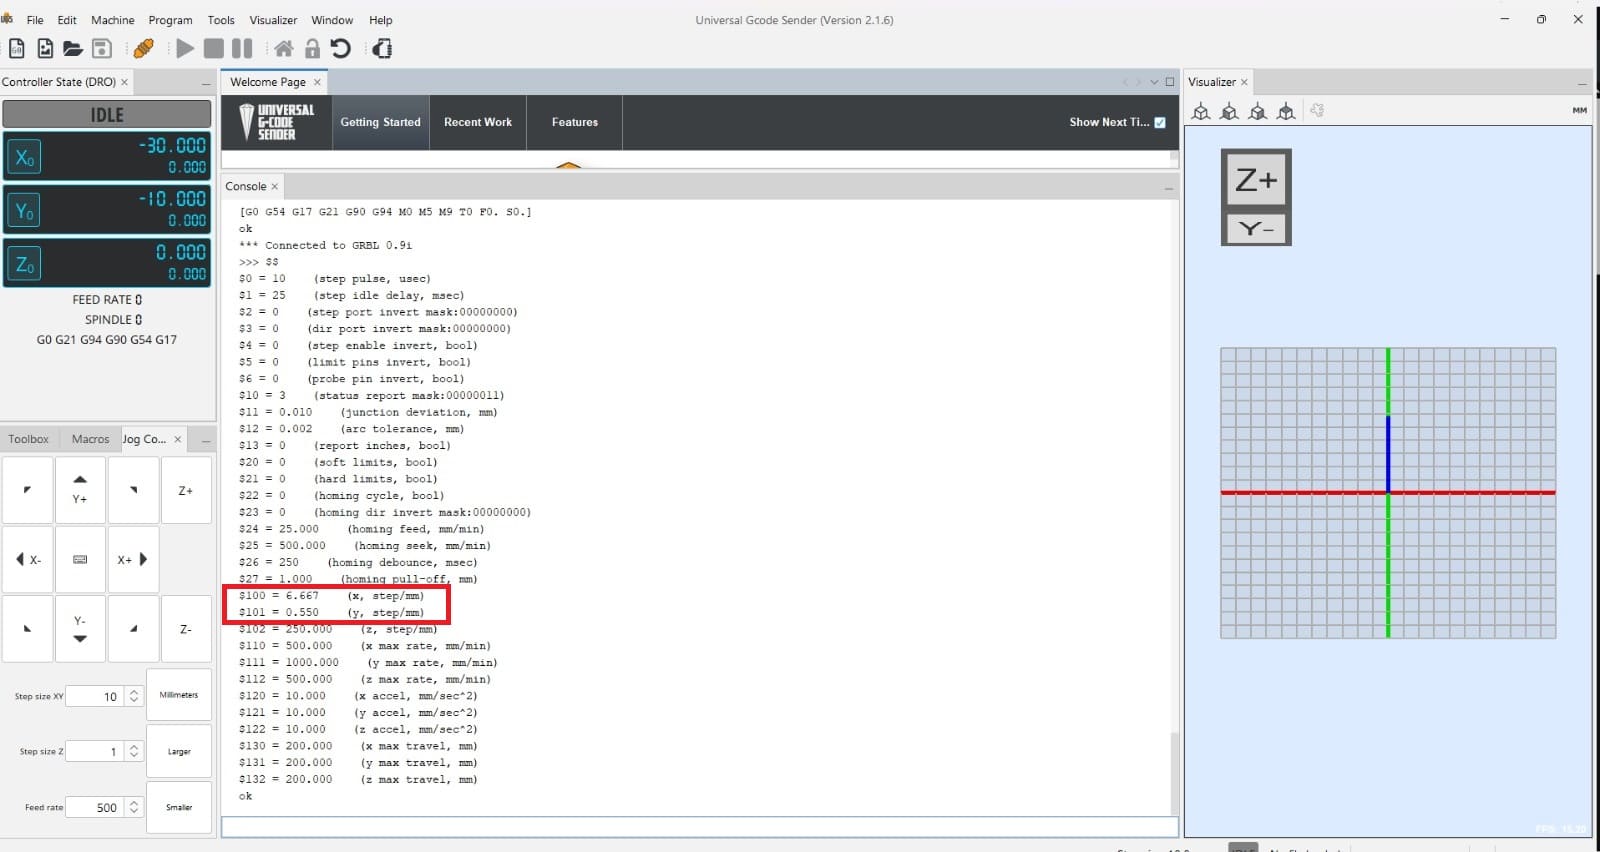
In this section i'm sharing the process to assemble all the parts of the machine and how it works.
First i'll show you two videos of a previous test

Here's the video of how to assemble the machine and how does it work.
In this section i'll share some problems I had during the design/3D-printing. So I started with the design of some parts. So i'm going to show some pictures and explain what happened.
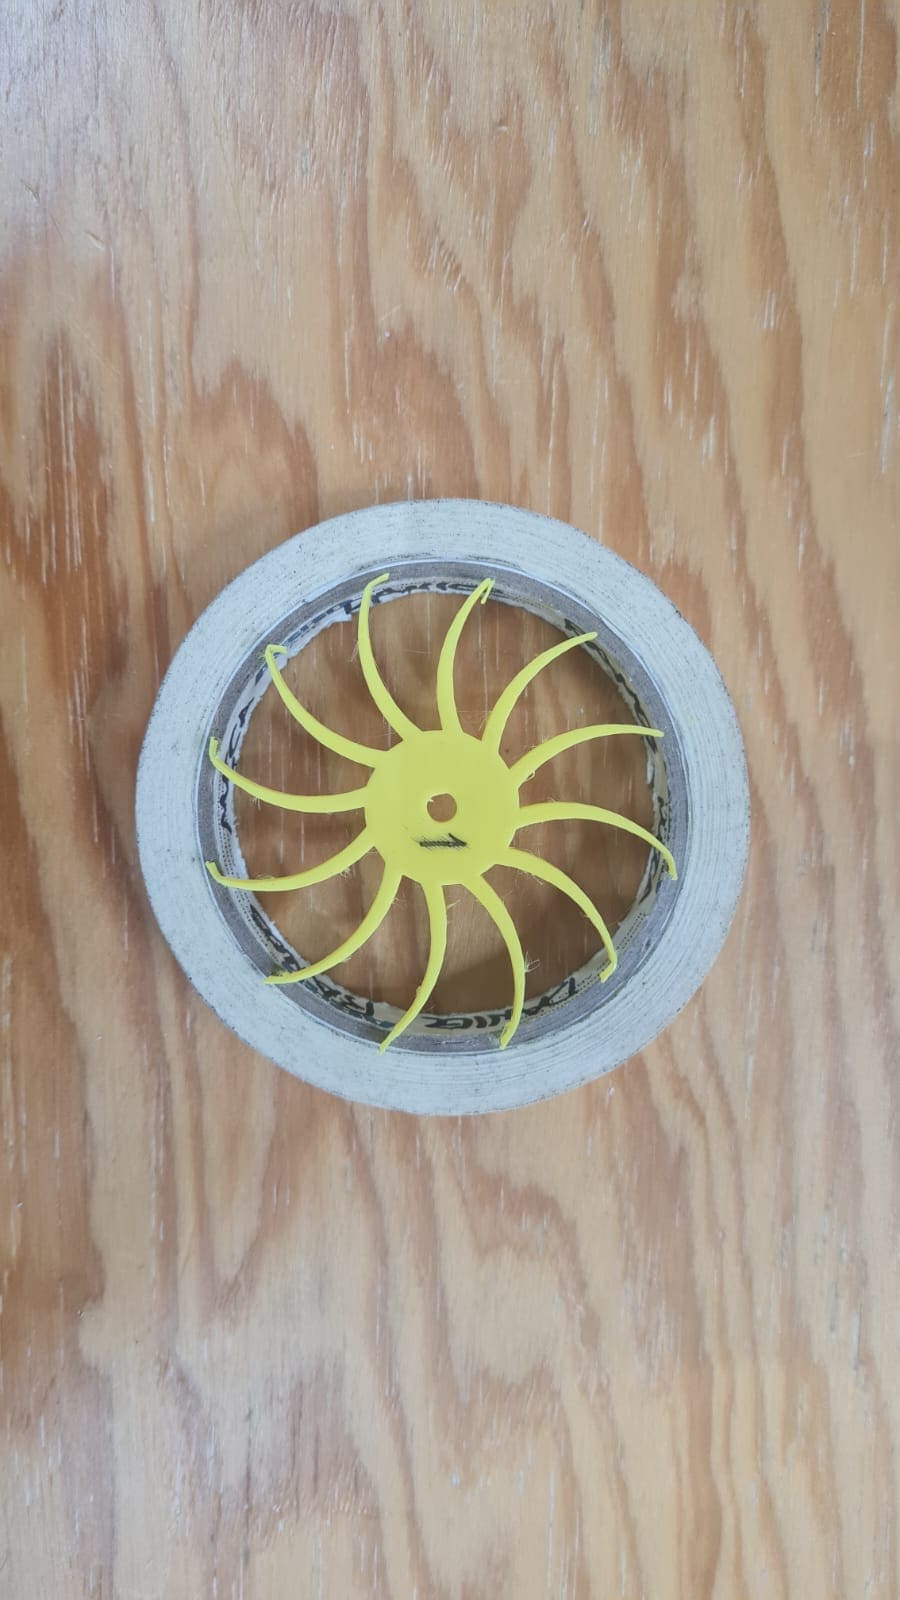
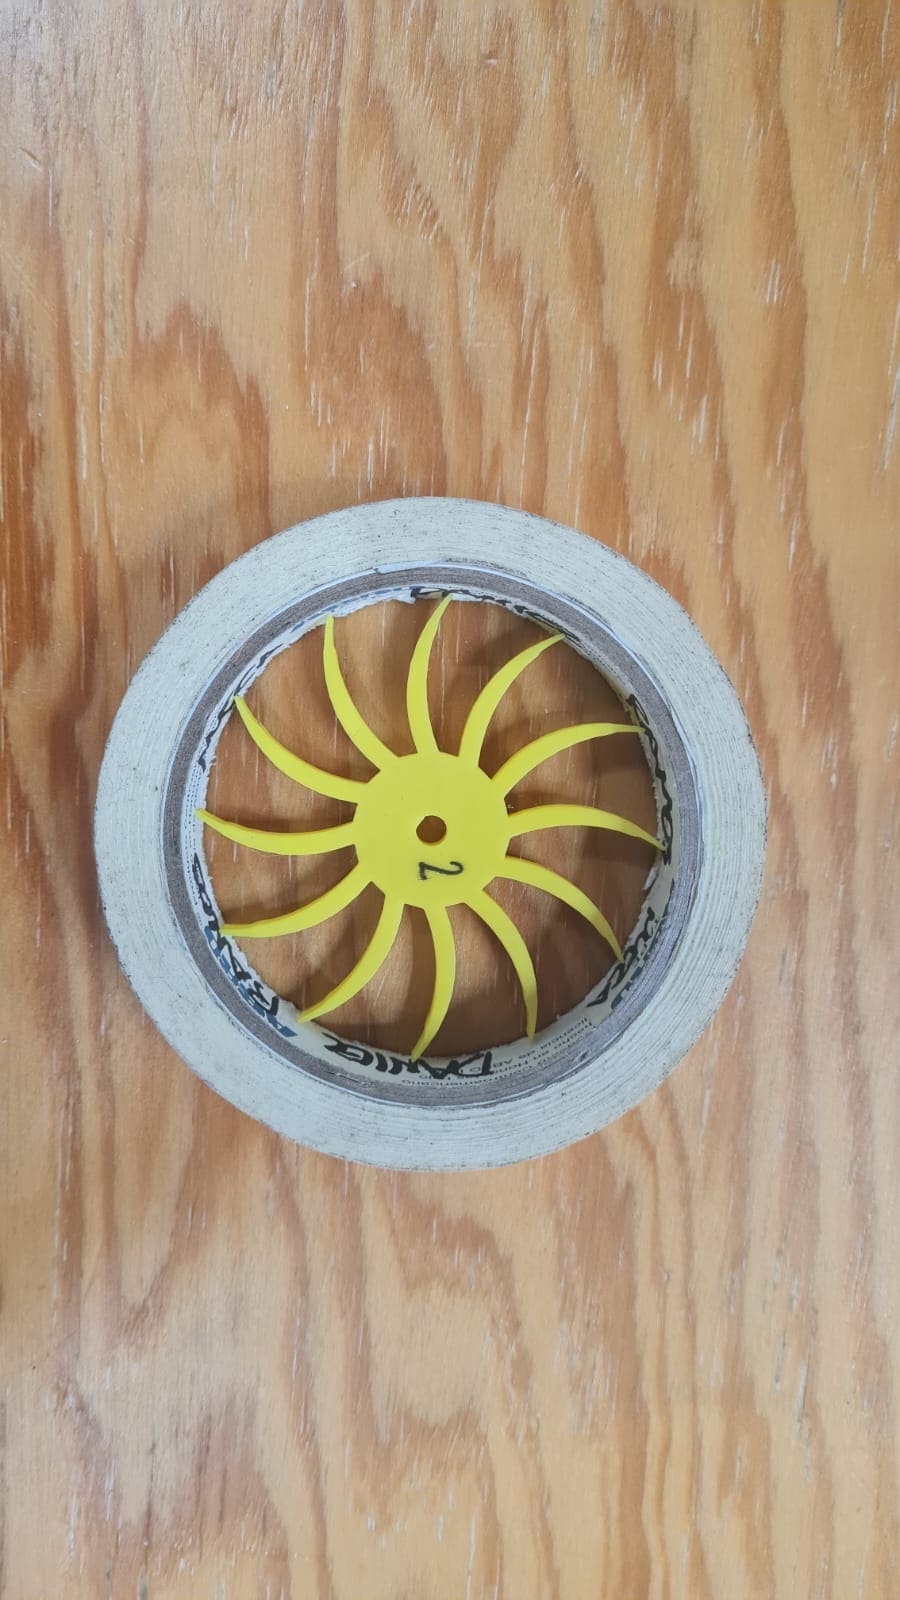
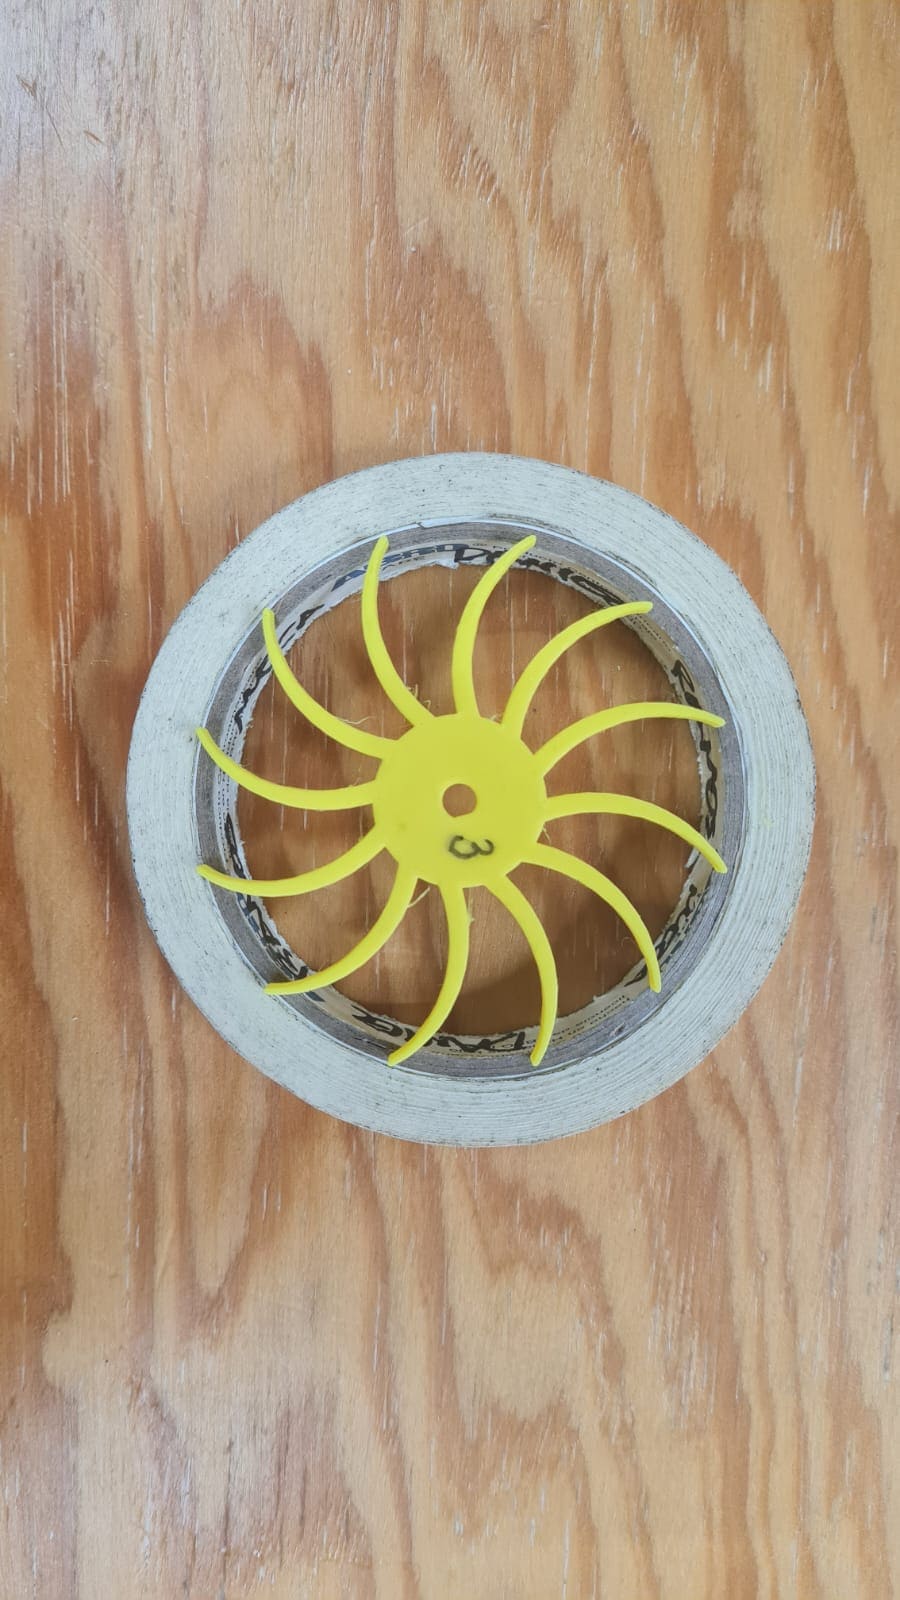
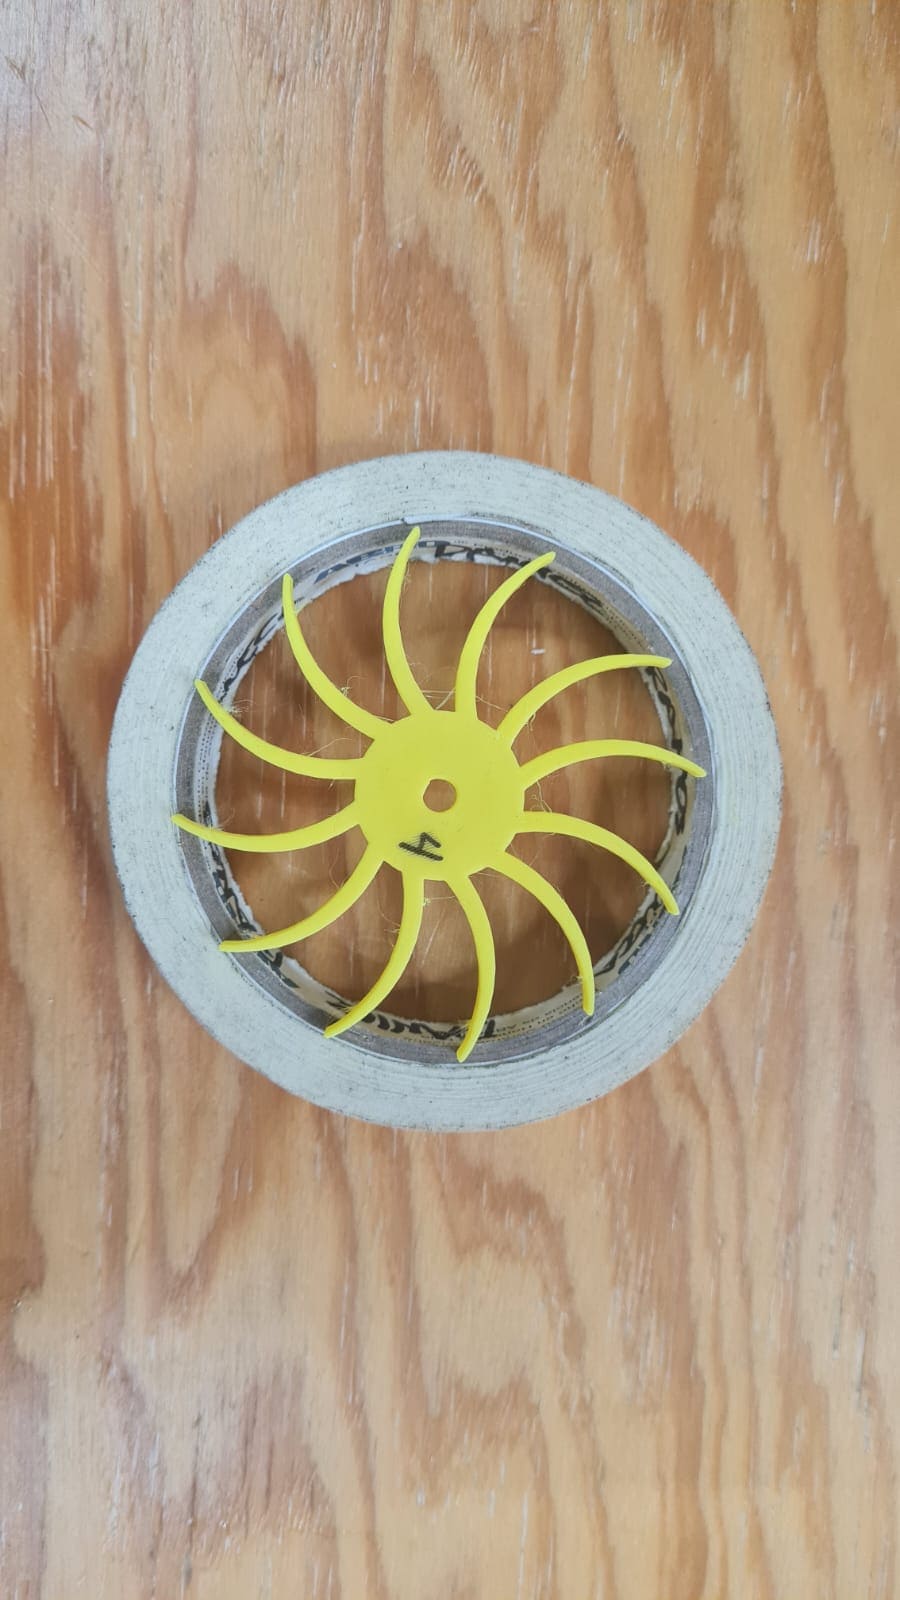
Another part was the front cover that I was going to use to hold parts of the machine. I had to do several tries, you can see them in the pictures below:
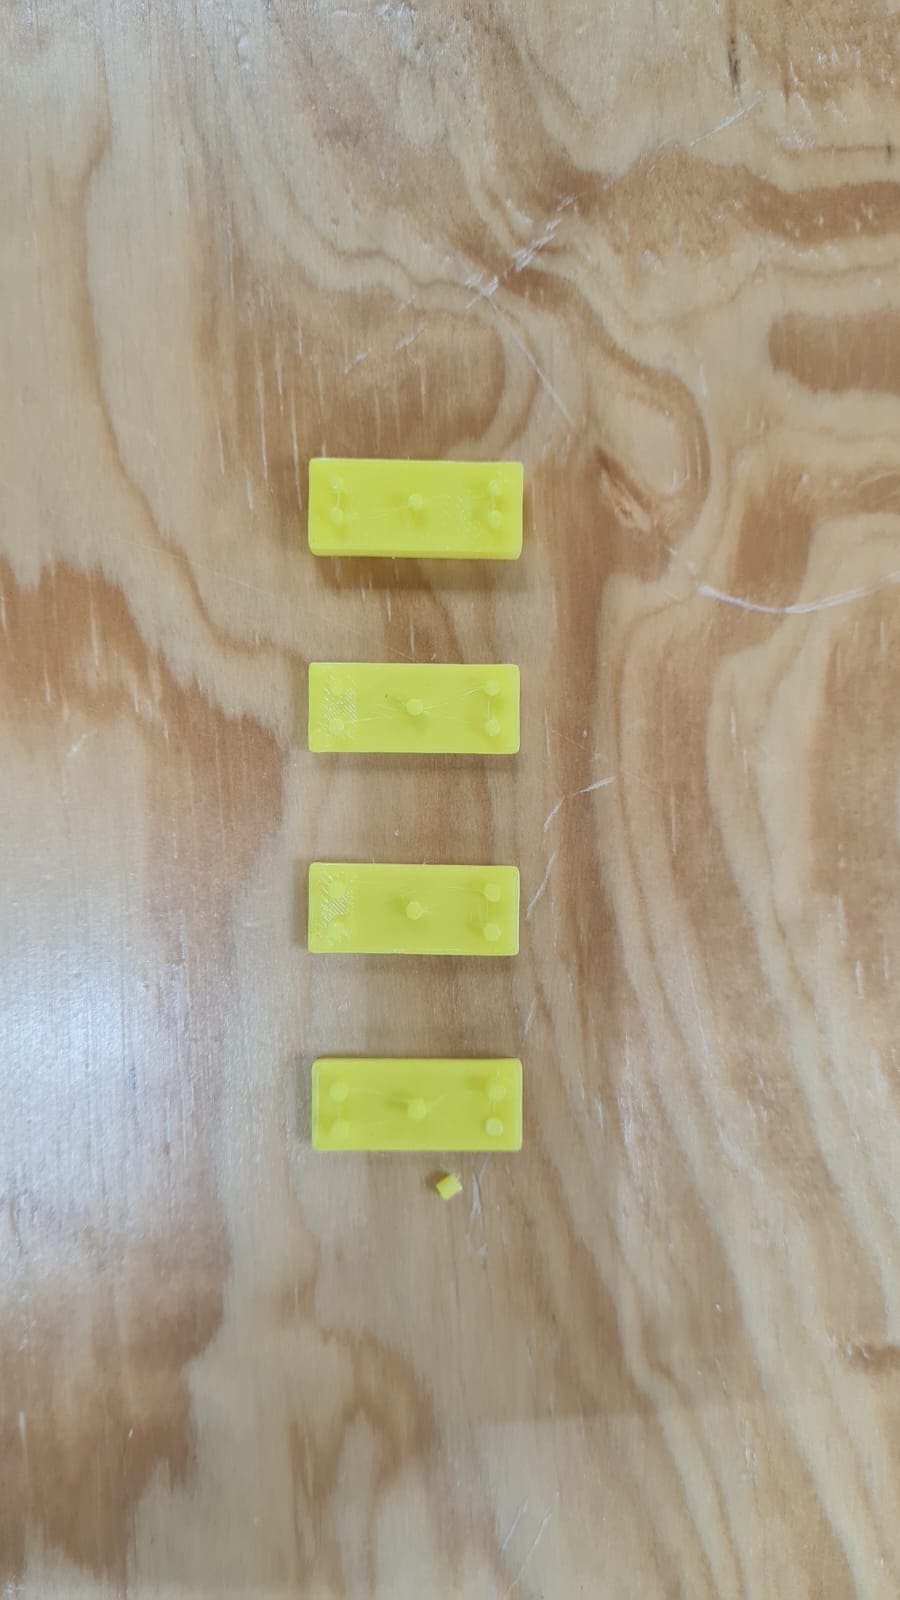
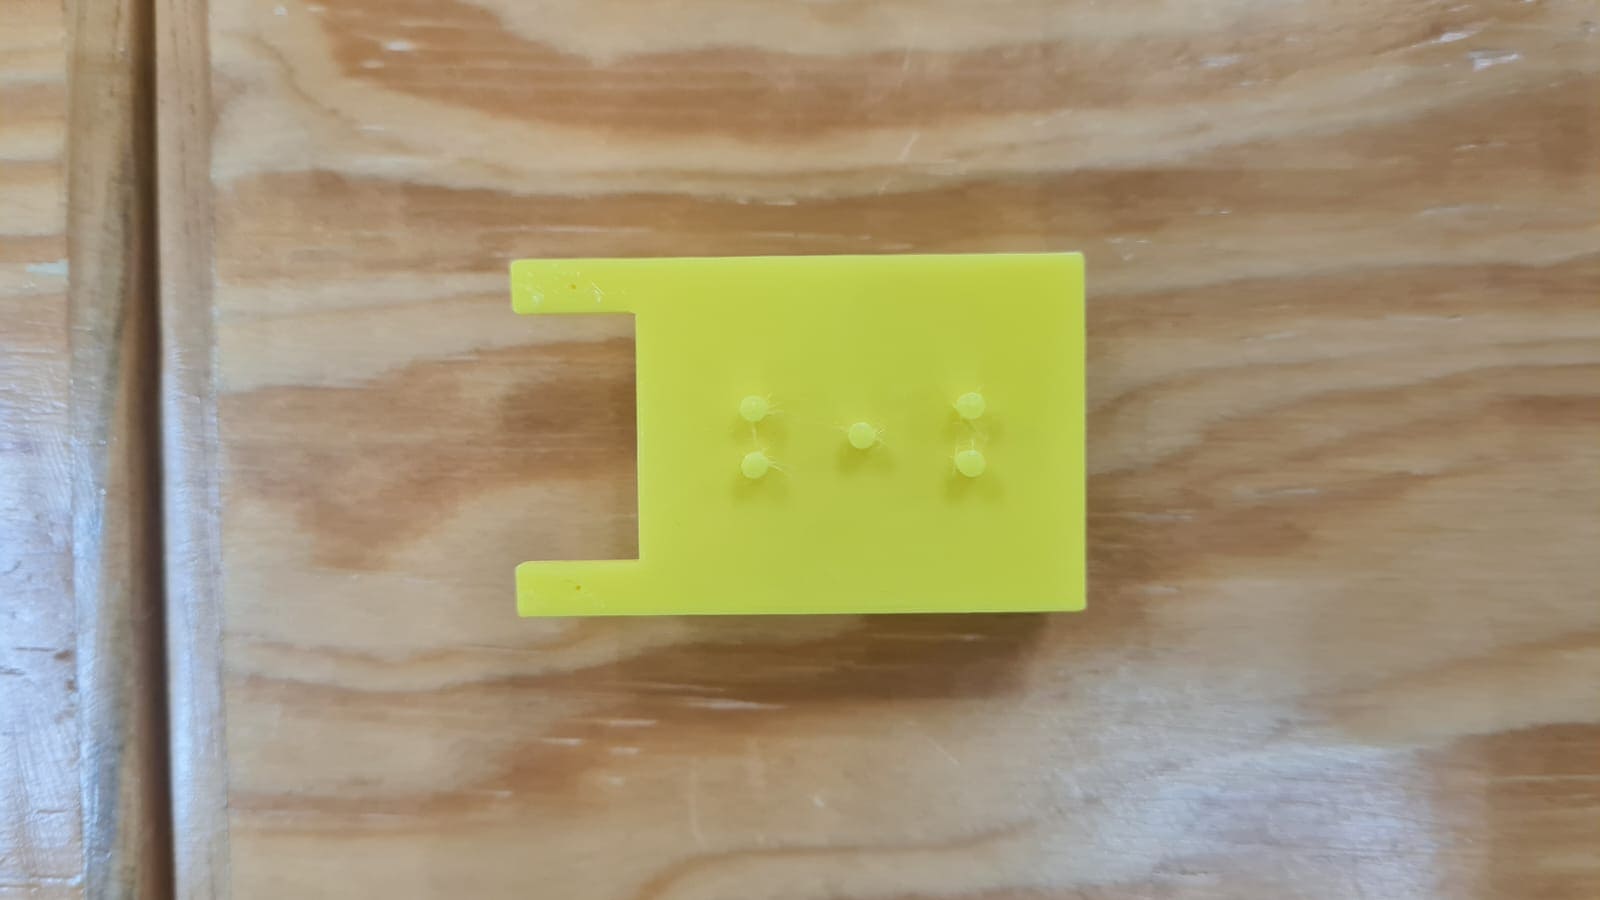
This part had a few situations. You can see them in the images below:
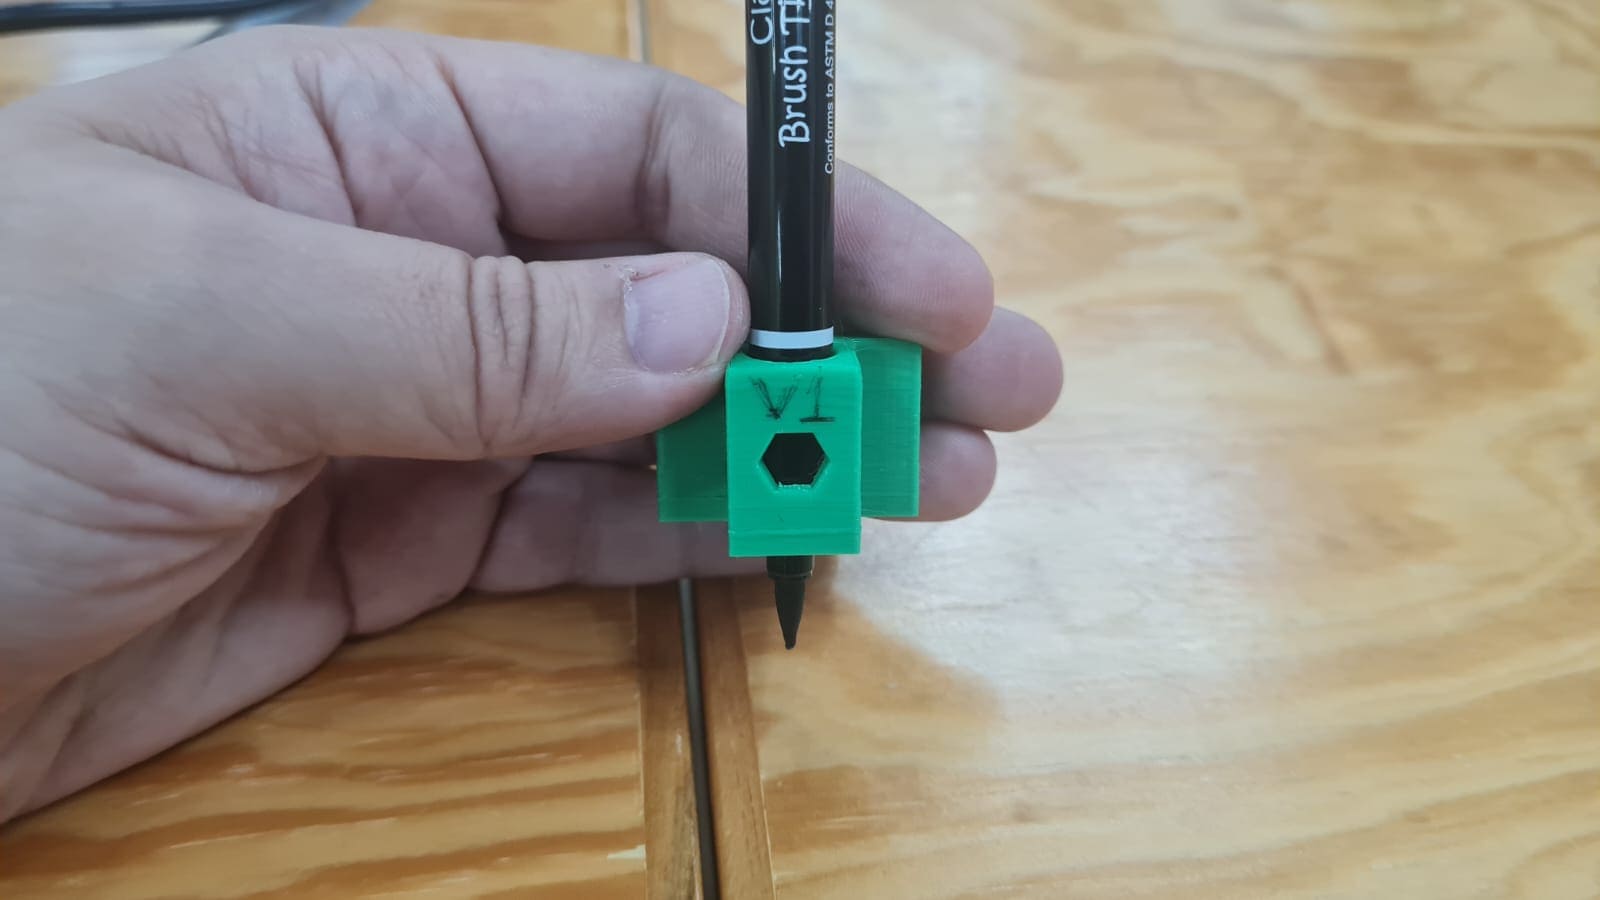
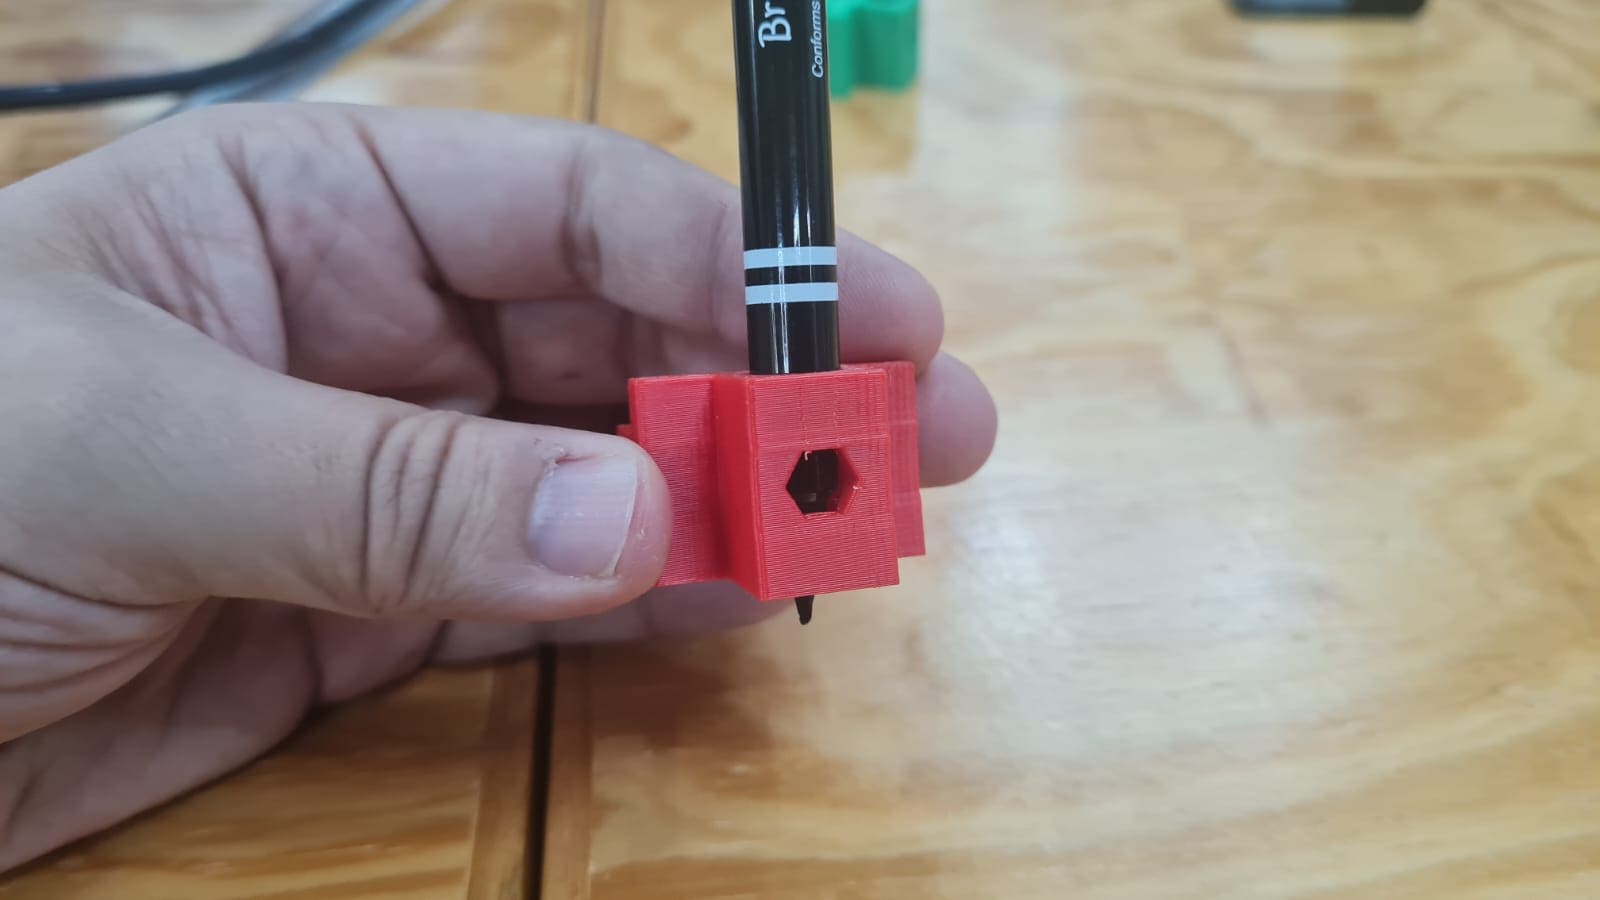
This was very funny at last, not during the process.
In this part you can download the files that I use for this 10th week assignments.
What did I learn in this week?